Implementing a Morphing Number Animation in Android
This is a two-part article. In part one, I described how I created a morph number animation in Jetpack Compose. Each number is a set of nodes, creating a path that gets drawn on Canvas. However, I didn't go into detail about how the paths used to draw each digit were obtained. This post intends to do that.
Generate an SVG image for each digit
SVG is a standard format for dealing with vector graphics. It's so common that almost all vector graphics editors import from or export into this format. The famous D3.js library is a wrapper for SVG. Also, the HTML5 and the Android canvas have commands very similar to SVG commands. In the case of Android, there's a way to convert an SVG path to a Canvas one. That's why we're going to create each digit in our animation using SVG.
The essence of animation is to gradually change values that correspond to visual items on the screen. For that to happen, you need to make sure everything else remains constant while the animated values are changing. An example would be when you are trying to animate the color of a shape. You have to decide beforehand if you want to use RGB or CMYK to represent the color. You can't switch between them mid-animation. The same goes for animating our numbers. We have to decide the number of nodes, their types, positions, and the direction they are laid out on their paths. I chose each digit to be made up of only five points, and I found it easier to draw the numbers on a piece of paper before opening up any graphics editor:
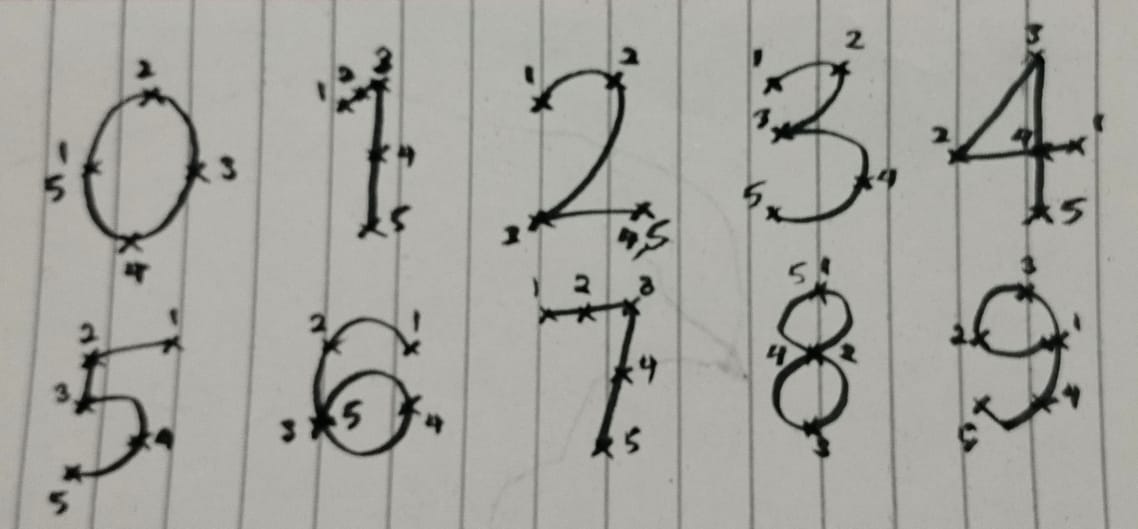
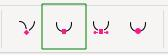
Notice how, for zero (0), points 1 and 5 are overlapping? Also, note that zero is not a closed loop. Points 1 and 5 are on top of each other, but they are not connected. Also, for two (2), points 4 and 5 are very close to each other. I've done that so the lower part of 3 can be extended from that part when animated.
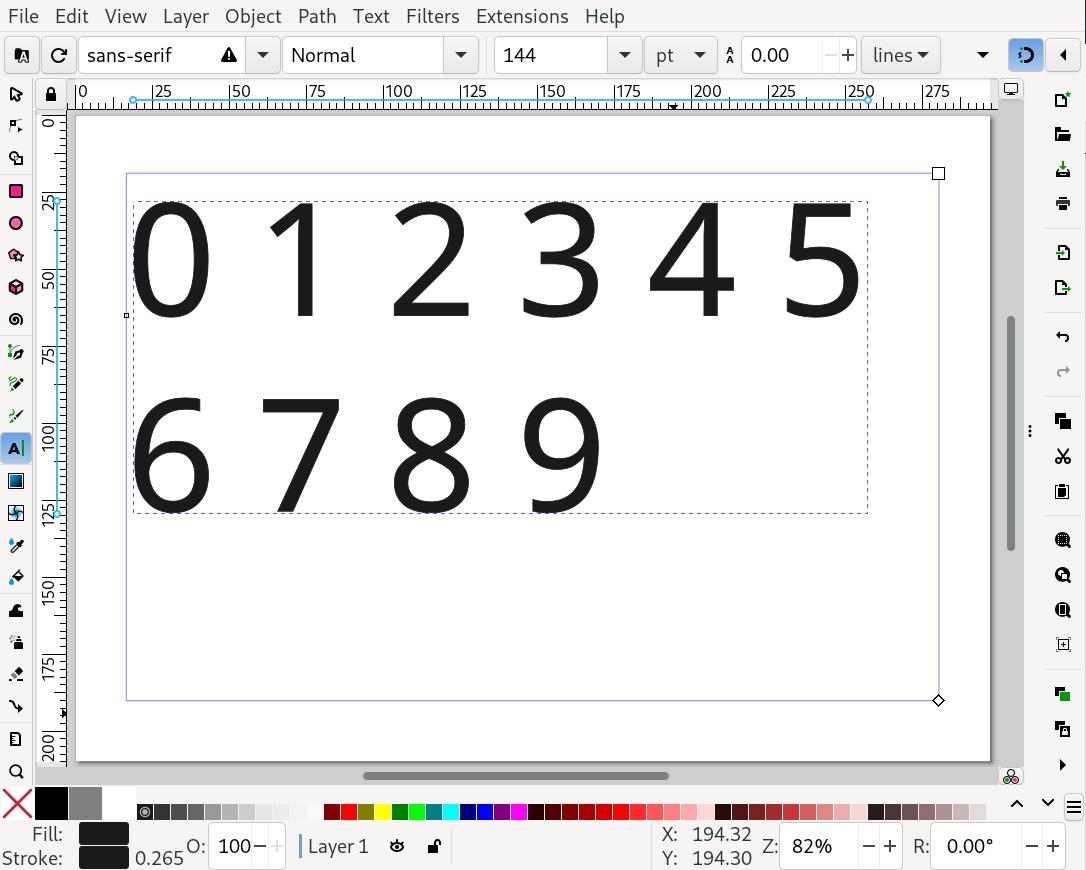
Use the paper as a reference to draw the digits in a graphics editor that can output SVG. I used Inkscape since it is free and easy to use. In Inkscape, create a new blank document and select the Text tool (t on the keyboard). Enter the numbers from zero to nine, with a space separating every two numbers. Each digit is represented as a filled shape with a stroke around it. We could use them the way they are now, but they are made up of too many points. We need to make things easier for ourselves by simplifying the shapes.
Single stroke digits
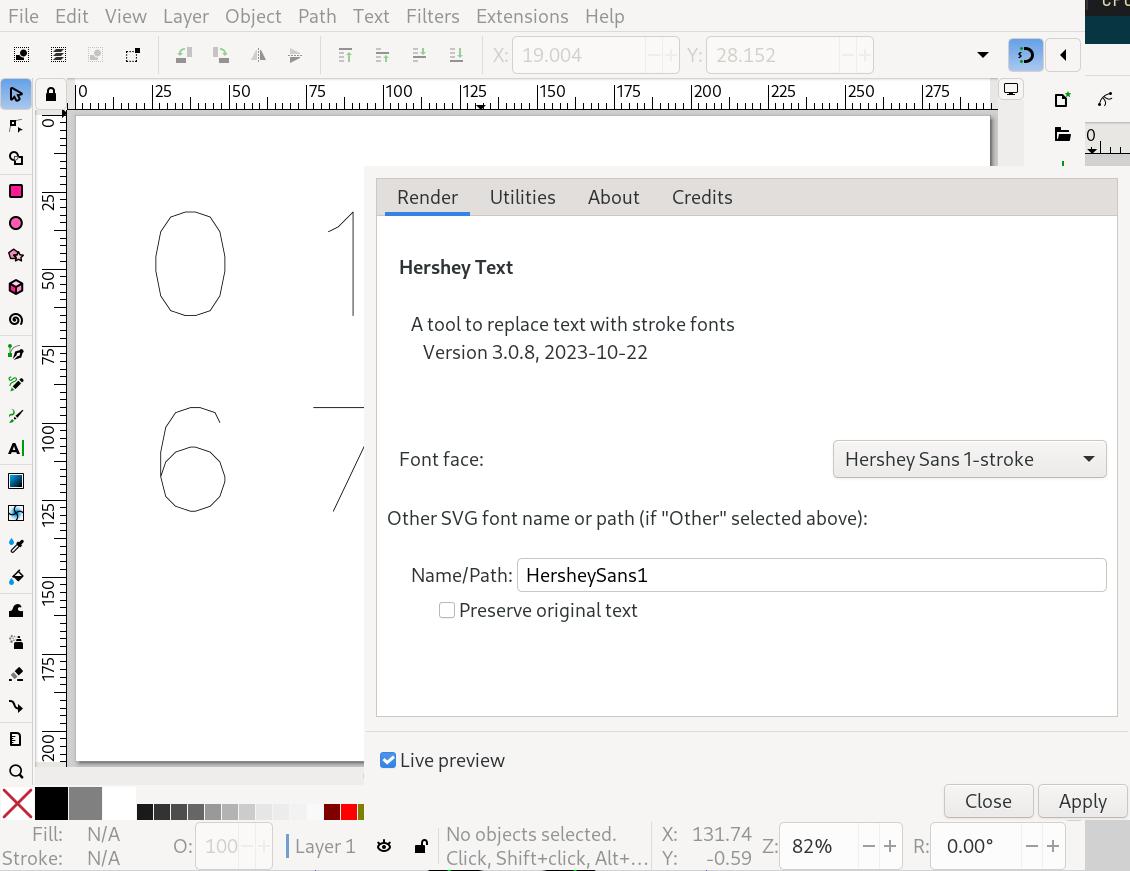
One way to simplify the shapes would be if they were drawn with a single stroke. Inkscape can't do that by default, so we will use an Extension called Hershey Text. To start, choose the select tool (the s key), and click on a digit so all of them get selected. Go to the Extensions menu, select Text, and then Hershey Text. Check the Live Preview checkbox and, select a font face. You will need to choose either a one-stroke font face or a font face called EMS. I chose "Hershey Sans 1-Stroke". Click Apply and then Close.
Remove extra nodes
Again, using the Select tool, select the numbers and, from the Path menu, choose Object to Path to convert each digit to a set of nodes. Then, while the numbers are still selected, press Ctrl+Shift+G twice to ungroup the digits, so you can work on them individually. Select one of the digits, and press 3 to zoom the document and fit the digit on the screen. Select the Node tool (n on the keyboard) and if the digit is not selected, select it again. You can now see the nodes that the digit is made of.
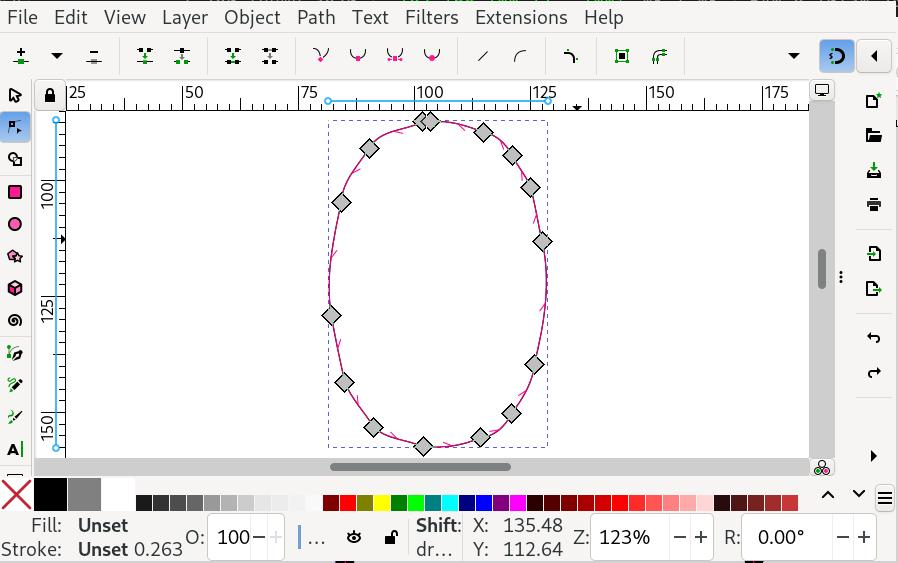
You can see that there are still too many points. However, we are only going to need five. To reduce the number of points, press Ctrl+L a few times to simplify the path. You'll get to a point where Ctrl+L won't remove any more nodes, and you will have to drag over the nodes and press Delete to remove them.
Position and type of nodes
If a node on the shape is not where it is on your paper drawing, instead of dragging it with the node tool, double-click where the node should be to create a new node. Then drag over the nodes you want to get rid of and press Delete.
Before we move any further, you have to make sure Inkscape only uses absolute commands in the SVG output. I found it hard to control how many or if the same Compose commands were used to generate the paths if the SVG path used relative commands. To make sure Inkscape outputs absolute commands, go to the Edit Menu, Preferences, SVG output, and from "Path string format", choose Absolute. You will know if absolute or relative commands are used in an SVG file by opening the file in a text editor and looking at the path value. If lowercase letters like c, m, l, and v are used, they are relative commands. Otherwise, if all the commands are uppercase letters, they are absolute commands.
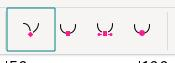
To ensure the same commands are used to generate the path for all digits, we will convert all nodes to curves. To do this, using the node tool, drag over all the nodes in a digit and then select the "Curve Icon" in the toolbar.
If the number is now out of shape, adjust the handles to make it look like before. For a corner node like in 1, 7, or 4, select the node and choose the corner node icon.
Also, make sure the digit is a single continuous stroke and there are no two overlapping nodes where there shouldn't be any. For this, slightly move the nodes one by one and then press Ctrl+Z to return them to their original positions. If by moving the node, another one appears behind it, they are not connected. Drag over the nodes with the cursor and click on the "Join Nodes" icon to join them.
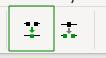
However, if there is a single node where there should be a split, like in 0 or 8, click on the node and then click on the "Split Icon":

Export the digits to SVG
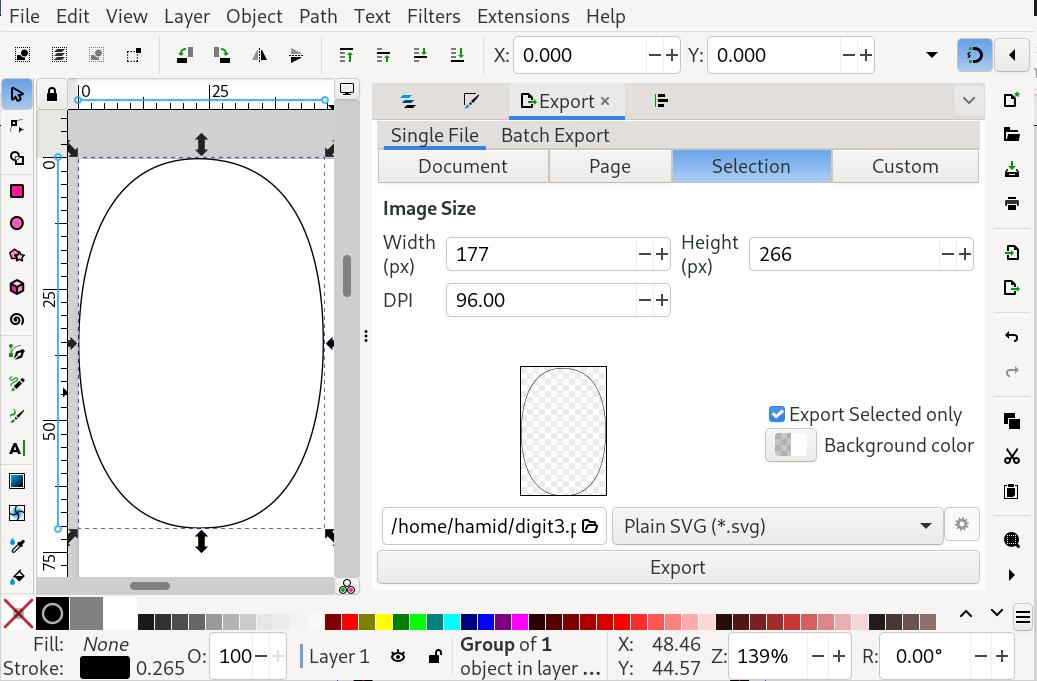
Once all that is done, using the select tool, drag the digit over to the top left corner. You can turn on snapping (the % key) to make that easier. Then export the digit as Plain SVG. Select the digit you want to export, then hit Ctrl+Shift+E, select the Selection tab, check the "Export Selected only" checkbox, choose "Plain SVG" as the output format, set the path and name for the output file, and click Export.
Clean up the paths
Now, open the SVG file using a text editor. The path used to generate the image should look like this:
M x1,y1 C x2,y2 x3,y3 x4,y4 x5,y5 x6,y6 x7,y7 x8,y8 x9,y9 x10,y10 x11,y11 x12,y12 x13,y13i.e., a single move command (M) at the beginning and a single curve command (C) followed by a set of coordinates. In SVG, this means: move to these coordinates and start a path from there, then draw curves with the following coordinates. Because we only have curves in our path, only the first one is preceded by a C command as a shorthand.
Now, open two instances (or tabs) of your text editor. In the first one, copy the SVG path for each digit. In the second one, copy all the paths from the first tab and remove the M and C commands, and replace the spaces with commas to make the paths arrays of float values. I'm using Sublime Text. So, to make this easier, select a single space character, hit Alt+F3 to select all the spaces, and type a single comma (,) to replace them with commas. Do the same to delete all the double quotes, Ms and Cs. Now go to the beginning of the first line, then press the Alt+Shift+Down combination on your keyboard to select the start of the lines below it. Then type "val points = arrayOf(". Then press End to go to the end of all the lines and then enter a closing brace ")". The output will be a list of float arrays that we can use in Kotlin:
val points = arrayOf(x1,y1, ...);
// ...
val points = arrayOf(x1,y1, ...);
Now select all the "points" words by selecting one of them and then pressing Alt+F3, hitting End, and then Ctrl+Shift+P. Type in "Text Pastry" and choose "\i from 0 to 10". Now, each array has a unique name corresponding to its digit.
If you don't have Text Pastry installed, press Ctrl+Shift+P, type "install" in the modal that appears and, choose "Package Control: Install Package". In the new dialog, type "Text Pastry" and select the first item. You will see the installation progress in the bottom left corner of Sublime Text.
Also, if you are are not using Sublime Text, just make sure the path for digit 0 is called points0, the path for digit 1 is called points1 and so on.
The paths in the first tab of your text editor can be used to get the commands needed to generate the same shapes in Compose. The second tab contains arrays of values that we will pass to the Compose commands that were generated.
We are done
Bravo. Now you have the paths needed to draw digits 0 to 9 in Compose. However, that was only the first step towards animating the digits. Check out my other post to see how we can now create the morph animations.